Oiling my New Interior Doors
If you didn't know, I got new doors fitted back in March time. I can't even begin to explain how happy they have made me and instead of having mismatched, uneven and un-closable doors, I now have 5 matching downstairs doors in Oak which look truly beautiful. Looking back on how my utility room used to look shows the reality of the improvements made to my home and the difference is stark.
I realised I never actually shared a true picture of my doors so I thought I would share the natural finish and the oiled finish. I did quite like the natural wood finish, with the lighter colouring but I was recommended to oil them by the joiner to protect the wood itself.


The first layer was easy as you could easily see where it was applied. It got a little bit harder for the second layer as it was already slightly stained, but nevertheless I felt it went on smooth. Other than a few spots that required a little touch up as I must have missed them, the doors look great. I probably applied the layer slightly too thick initially but it didn't cause any long term problems. It took about 36 hours to dry completely and I was initially worried because it was supposed to take 24 hours and at that point it was very sticky, but I woke up the next morning and it was absolutely fine. 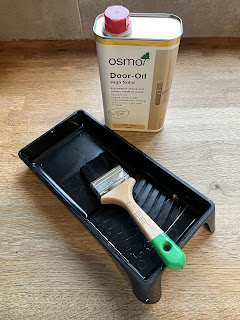

I wasn't too sure about the darkness initially because I'd become so used to the lighter shade, but I actually love it. It fits with my décor so much better and the match to my Kitchen Oak worktop is unreal. It's perfect.

Comments
Post a Comment